Understanding the “Hippie Costume” Aesthetic

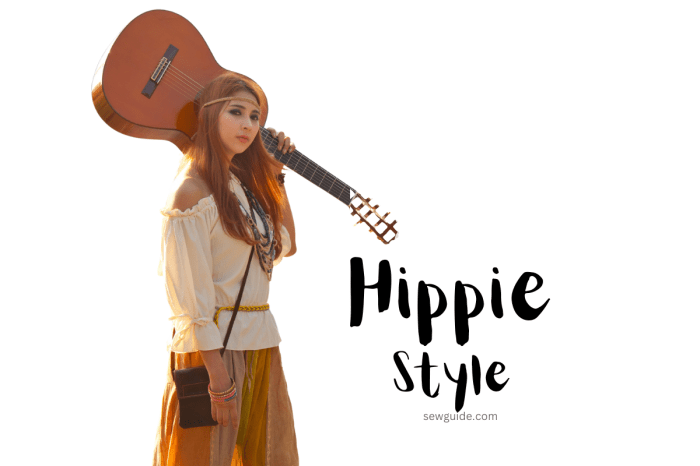
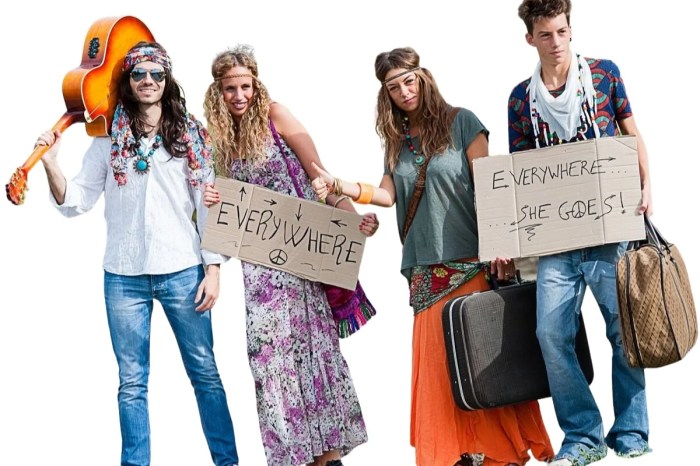
Hippie costume womens diy – The 1960s and 70s hippie aesthetic represents a powerful cultural movement, expressing ideals of peace, love, and freedom. A hippie costume aims to capture this spirit through clothing, hair, and accessories, reflecting the diverse styles within the counter-culture. Understanding the nuances of these styles is key to creating an authentic and impactful look.
Key Visual Elements of the Hippie Aesthetic
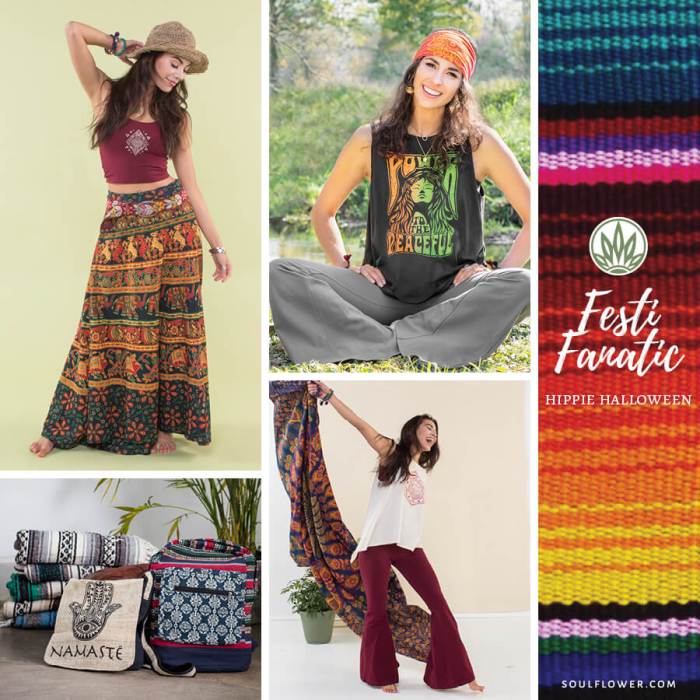
The core visual elements of a hippie aesthetic revolve around natural fabrics, earthy tones, and a generally relaxed, bohemian style. Think flowing maxi dresses and skirts, bell-bottom jeans, fringed vests, and embroidered details. Natural materials like cotton, linen, and suede were favored, reflecting a back-to-nature philosophy. Earthy colors like browns, greens, oranges, and yellows were prevalent, alongside vibrant patterns inspired by nature, such as paisley and floral prints.
Long, flowing hair, often adorned with headbands or flowers, was another defining characteristic.
Three Distinct Hippie Sub-Styles
The hippie movement wasn’t monolithic; various sub-styles emerged, each with its own distinct characteristics. These differences are reflected in clothing choices, hair, makeup, and accessories. Understanding these sub-styles allows for a more nuanced and personalized approach to costume design.
Hippie Sub-Style Comparison
| Sub-Style Name | Key Clothing Items | Hair/Makeup | Accessories |
|---|---|---|---|
| Bohemian Hippie | Flowing maxi dresses, peasant blouses, embroidered vests, wide-legged pants, layered skirts | Long, loose hair, often adorned with flowers or headbands; minimal makeup, emphasizing natural beauty | Beaded necklaces, bangles, woven belts, peace symbol jewelry, long scarves |
| Psychedelic Hippie | Brightly colored clothing, bold prints (paisley, tie-dye), bell-bottom jeans, velvet jackets, fringed shirts | Long hair, often styled dramatically; bold eye makeup (often using vibrant colors); possibly glitter | Peace signs, large statement jewelry, beaded bags, sunglasses |
| Folk Hippie | Simple, natural fabrics (linen, cotton), long skirts and dresses, denim jackets, vests, ponchos | Long, straight or wavy hair, often worn loose; minimal makeup, natural look; sometimes braids | Simple jewelry (wood, leather, bone), woven bags, embroidered belts, headbands |
Translating Hippie Styles into Costume Design
The table above provides a clear framework for translating these sub-styles into costume design. By carefully selecting clothing items, hairstyles, makeup, and accessories consistent with a chosen sub-style, one can create a convincing and authentic hippie costume. Remember that layering is key to achieving a truly bohemian look, and don’t be afraid to experiment with different textures and patterns to capture the spirit of the era.
Crafting a groovy hippie costume for women is all about embracing free-spirited style; think flowing fabrics and earthy tones. Need inspiration for festive costume construction? Check out this guide on creating a diy mrs claus costume for tips on repurposing materials and adding unique details. Applying similar DIY ingenuity, your hippie costume can become a truly unique expression of individuality.
DIY Costume Construction Techniques: Hippie Costume Womens Diy

Unleash your inner artist and create a truly unique hippie costume! This section provides step-by-step guides for crafting key elements, transforming repurposed materials into groovy garments and accessories. Let’s get crafting!
Fringed Vest from Repurposed Materials
Creating a fringed vest is a fantastic way to add a touch of bohemian flair to your hippie ensemble. Start by finding an old denim jacket, a large piece of corduroy, or even a sturdy blanket as your base. The key is to choose a material that holds its shape well and has a texture that complements the fringe.
- Choose your base material: Select a piece of fabric large enough to fit comfortably across your shoulders and down to your desired length. Consider the size and shape carefully. A larger piece will allow for more fringe.
- Cut the vest shape: Lay the fabric flat and draw a vest pattern directly onto the fabric. You can use an existing vest as a template, or find a simple pattern online. Ensure the pattern includes armholes.
- Cut the fringe: Once the vest shape is cut, create the fringe by cutting long, thin strips of fabric along the bottom edge and the edges of the armholes. The length of the fringe is entirely up to your preference. For a more dramatic effect, consider layering fringe of varying lengths.
- Sew the vest together: Sew the side seams of the vest together, ensuring that the fringe is incorporated neatly into the seam. A simple running stitch or a sewing machine will work well.
- Finishing touches: Once the vest is sewn, you can add embellishments like beads, patches, or embroidery to personalize your creation. A little bit of distressing, such as fraying the edges of the fringe, can add to the authentic hippie look.
Fabric Dyeing Techniques
Dyeing your fabric is a crucial step in achieving an authentic hippie look. Tie-dye and batik offer vibrant, unique patterns perfect for your costume. Here are three different methods to explore.
- Classic Tie-Dye: This method involves tightly binding sections of fabric before submerging it in dye. The resulting pattern is unpredictable and always unique. Experiment with different folding techniques (spiral, crumple, accordion) for varied results.
- Batik: This involves using wax to resist dye in specific areas of the fabric. Use a tjanting (a special tool for applying wax) or a brush to create intricate designs. Multiple layers of wax and dye can create complex and beautiful patterns.
- Shibori Dyeing: This ancient Japanese technique uses various methods of binding, stitching, or clamping fabric to create patterns. Experiment with different binding techniques, like pleating or stitching, to achieve various effects.
Flower Crown Construction, Hippie costume womens diy
A flower crown is an essential accessory for any hippie costume. Whether you prefer fresh or artificial flowers, the process is surprisingly simple.
- Fresh Flower Crown: Gather a variety of small, sturdy flowers like daisies, wildflowers, or baby’s breath. Use floral wire or twine to bind the flowers together, creating a continuous circle that fits comfortably on your head. Ensure the stems are hidden within the crown.
- Artificial Flower Crown: Choose artificial flowers that are realistic in appearance and size. You can use hot glue or floral wire to attach the flowers to a wire base or a flexible headband. Consider adding greenery to fill in gaps and add texture.
Peace Sign Accessory Creation
The peace sign is an iconic symbol of the hippie movement. Let’s create one!
- Felt Peace Sign: Cut out two peace sign shapes from felt. Sew the two pieces together, leaving a small opening for stuffing. Stuff with cotton or fiberfill and sew the opening closed. Embellish with beads or embroidery.
- Beaded Peace Sign: Use wire to create the Artikel of a peace sign. String beads onto the wire, carefully following the peace sign shape. Secure the ends of the wire.
- Wire Peace Sign: Bend thick wire into the shape of a peace sign. You can leave it as is, or add small beads or charms for extra flair.
Illustrative Descriptions of Costume Elements

Creating a truly authentic hippie costume involves attention to detail in each element. The following descriptions will guide you in crafting a look that captures the spirit of the era with style and creativity. Remember, the beauty of a DIY costume lies in its individuality and personal expression.
Bell-Bottom Pants Design
For authentic bell-bottoms, choose a soft, flowing fabric like corduroy, denim, or even a lightweight velvet. The fabric should drape well to achieve that iconic flared silhouette. Begin with a standard pant pattern, adjusting the leg opening to be significantly wider than the knee. The flare should begin gradually below the knee and widen dramatically towards the hem.
Consider adding a contrasting fabric panel to the inner leg for a pop of color or pattern. A simple straight seam construction is sufficient; reinforce the seams with topstitching for durability. A comfortable waistband, possibly with belt loops, completes the design. Experiment with different washes or distressing techniques for a truly vintage feel.
Unique Headband or Hair Accessory
A headband is a quintessential hippie accessory. Instead of a simple band, consider creating a more elaborate piece. A crocheted headband with colorful yarn, incorporating beads and flowers, would be a fantastic choice. Alternatively, a fabric headband embellished with peace signs cut from felt and stitched on would be equally effective. For a truly unique touch, incorporate natural elements like feathers or dried flowers, carefully secured to a sturdy base.
The key is to embrace vibrant colors and playful textures.
Fringed Bag or Purse
A fringed bag instantly evokes the hippie aesthetic. Start with a sturdy base material like suede, leather, or even a heavy-duty canvas. Cut the chosen fabric into a simple rectangular or square shape, adding a lining for a professional finish. The fringe is the star of the show. Cut long strips of the same fabric or a contrasting material and attach them evenly along the bottom edge of the bag.
Consider adding beads, shells, or small metal charms to the fringe for extra flair. A simple drawstring closure or a small flap with a button adds a practical touch.
Groovy Platform Shoes
While constructing platform shoes from scratch is challenging, you can achieve a similar effect with readily available materials. Start with a pair of sturdy, comfortable shoes (sneakers or boots would work well). Cut and shape foam or cork to create platform soles. Secure them firmly to the existing soles using strong adhesive and reinforce with fabric or leather wrapping.
Decorate the platforms with paint, glitter, or fabric scraps to match the overall costume aesthetic. Remember, safety and comfort are paramount; ensure the platforms are securely attached to prevent accidents.
Key Questions Answered
How long does it take to make a hippie costume?
The time varies greatly depending on the complexity of the design and your crafting experience. A simple costume might take a weekend, while a more elaborate one could take several weeks.
Where can I find inspiration for my hippie costume design?
Look at vintage photos, movies from the 60s and 70s, and online resources featuring hippie fashion. Consider your own personal style and what aspects of the hippie aesthetic resonate most with you.
What if I don’t have sewing skills?
Many hippie costume elements require minimal sewing. Focus on simpler designs or utilize no-sew techniques like fabric glue or using existing clothing items.
Can I use modern fabrics instead of vintage ones?
Absolutely! Modern fabrics can be used, but consider adding techniques like distressing or dyeing to give them a vintage feel.
